At Particle, our goal is to empower you to bring the physical and digital worlds together, unlocking new possibilities and solutions to complex problems. From data visualization, to business intelligence, to analytics, to data storage (and so much more!), it’s clear that the usefulness of a connected device is amplified tremendously when paired with the power of the digital world.
That’s why we’re incredibly excited to announce the launch of Integrations. It’s a new feature of the Particle platform that is designed to drastically simplify how data is piped out of Particle, and into wherever you want it to go. You can find your Integrations hub on the Particle Dashboard.

What it does
The Integrations hub on the dashboard is your place to manage how your data is sent out of Particle to other tools and services across the web.
The first integration that is available today is webhooks, a flexible way to send your Particle data anywhere. You may be already using webhooks that you have created from the Particle CLI, or by hitting the Particle API directly. Up until this point, there was no place to easily manage your Particle webhooks without using a Terminal. With the new Integrations hub, you can now view, create, and remove your webhooks all from the dashboard. Nice!
Moving forward, Particle is working hard to bring you tighter integrations with specific tools and services that will make funneling your data even easier. Stay tuned for updates on new Integrations coming soon!
How to use it
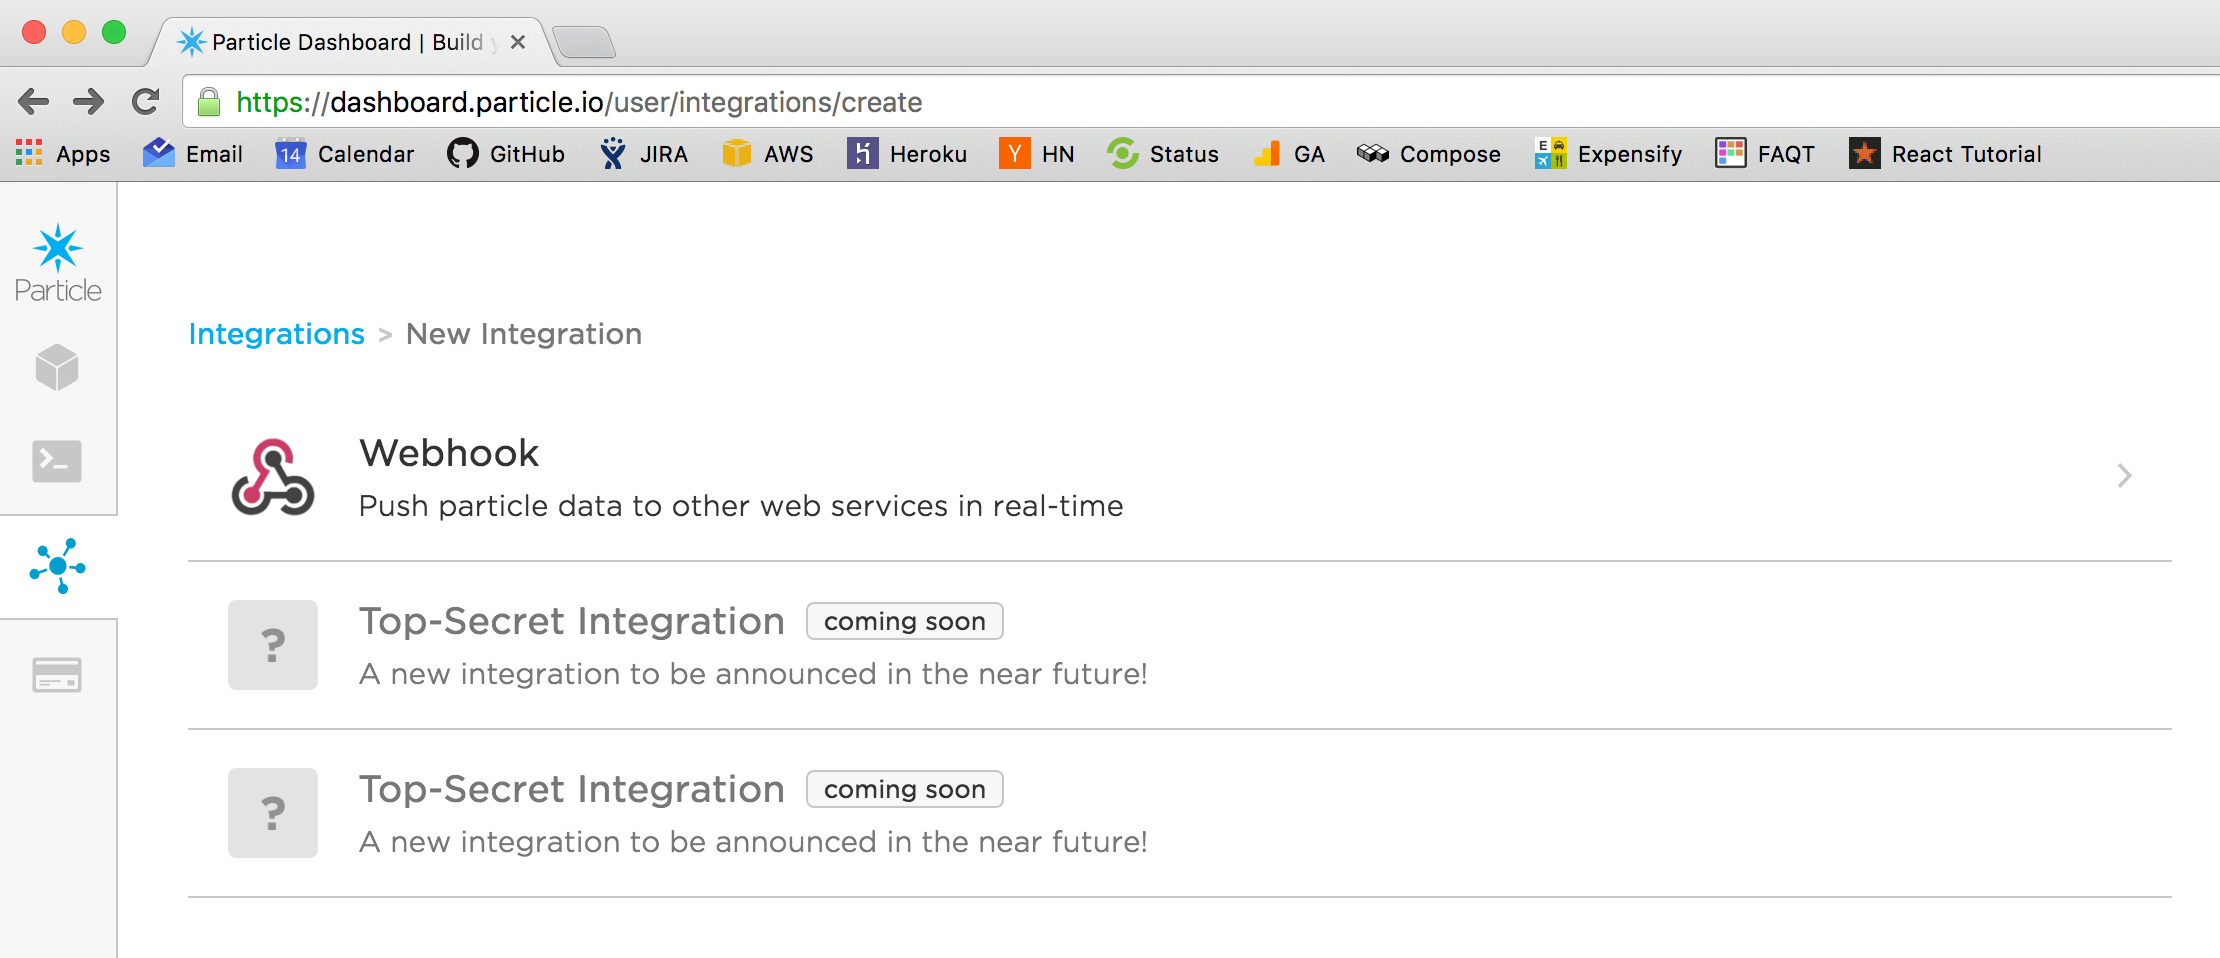
To get started, visit your Integrations Hub on the Particle Dashboard. If you have previously created any webhooks, they will appear automatically here. The default Integration tile will show you a preview of the webhook, including:
- What URL the webhook is targeting
- What event triggers the webhook
- Which of your devices triggers the webhook
If you have never used webhooks before, you may want to check out the Webhooks Guide on the docs to learn more about what webhooks are and how they work. In the future, other enabled integrations will appear here.
To create a new Integration, click on the “New Integration” tile, then click “Webhook.” Pretty easy so far, right? 
This will launch you in to the “Webhook Builder,” an interactive form that will help you create the webhook of your dreams:

You’ll be able to set the name of the event to trigger the webhook, the URL it should send the data to, the HTTP Request Type, which of your devices should trigger the webhook, and a slew of other advanced settings.
Once created, you should see the webhook appear in your list of Integrations. Congrats! You’re done! You can always click on the Integration tile to get a more detailed view of the webhook:

We’re excited for you all to try out Integrations and incorporate them into your products and projects! If you’d like more info on webhooks to get started, check out the guide .
 )
)

