Hey all,
Adding push notifications to any Particle Powered project is easier than you think. Here’s a quick tutorial on how to set them up using Pushover. I’ve been using this with my Tile based location tracker and it’s been great!
First you want to make sure that you’re publishing something to Particle’s cloud. Here’s an example of what you could publish:
// Create payload
String status = String::format("{\"address\":\"%s\",\"lastSeen\":%d,\"lastRSSI\":%i,\"status\":\"%s\"}",
    address, lastSeen, lastRSSI, messages[present]);

// Publish the RSSI and Device Info
Particle.publish("status", status, PRIVATE, WITH_ACK);
In the case above, there are several key data points being published. Bluetooth Address, time stamps, RSSI and also a status message. They’ll all be very handy to have in the coming steps!
Now, to set up the web hook!
The first thing that you’ll have to take note is your user key. You can get that by logging into Pushover. Note: you’ll need to set up an account first if you haven’t already.
It should look something like this:
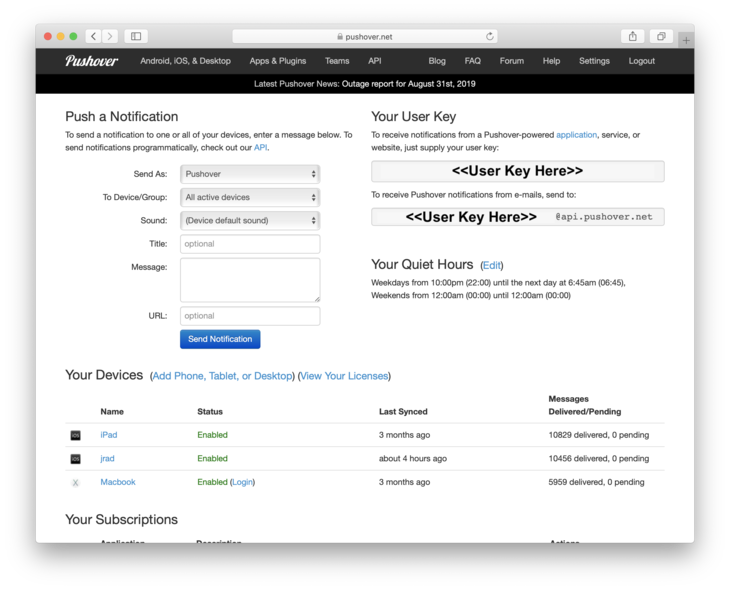
If you’re logged in and don’t see this page, click on the Pushover logo and that should bring you back.
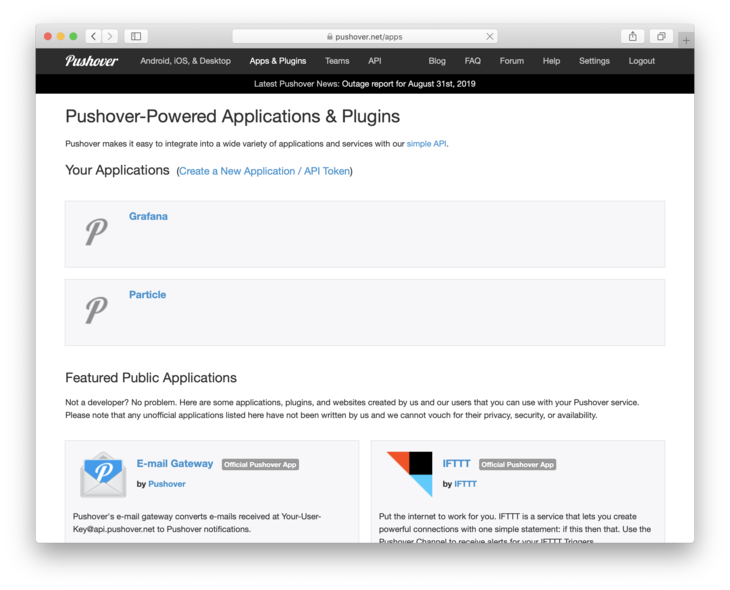
Next we’ll want to create an application. Click on the Apps & Plugins at the top of the screen.
You should then click Create a New Application. This will allow us to get an API Token that will be needed in the Particle Webhook setup.
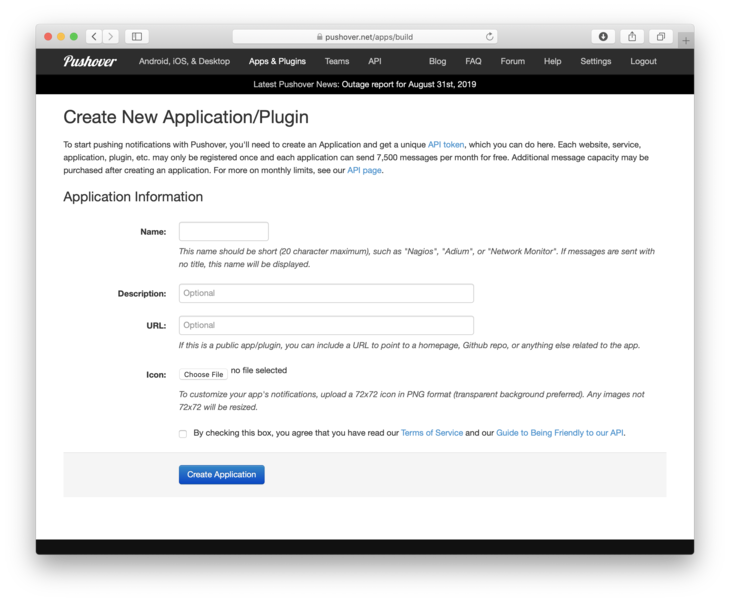
Set a name as you see fit. Fill in the description if you want a reminder. Click the box and then click Create Application.
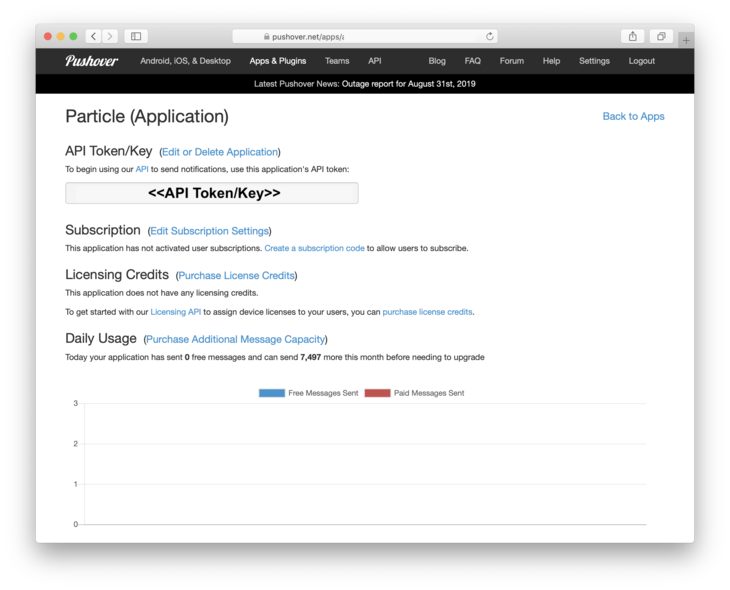
You should go to the next page. Copy and save the API Token/Key we’ll need this also in a few steps.
Now, let’s setup the Webhook. Jump over to https://console.particle.io and create a new integration.

We’ll set the Event Name to status . (Make sure you set this to the event name that you want to monitor)
The URL to https://api.pushover.net/1/messages.json
Also, if you want to filter by a specific device make sure you select it in the Device dropdown.
Under Advanced Settings we’ll finish up by setting a few fields.
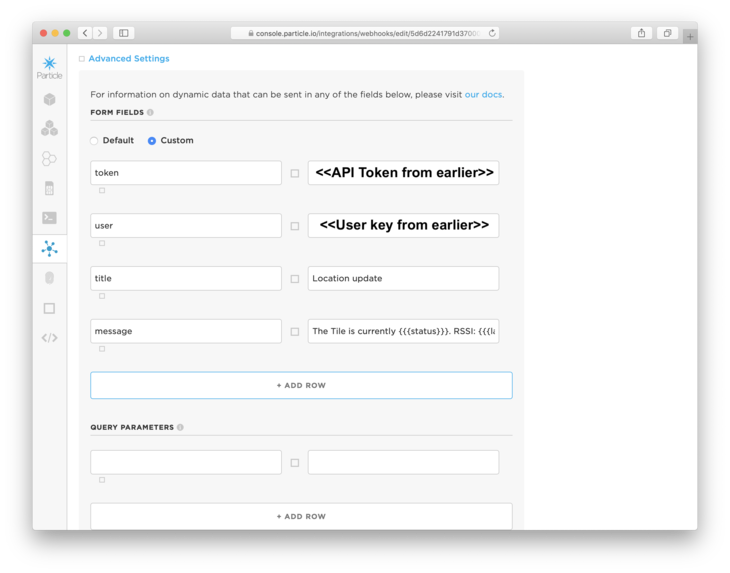
Create the following fields: token, user , title , and message . Then set token to the API Token we got earlier. Do the same for the User Key.
The title will show up as the title of your message. Make it whatever makes sense for you.
You can set the message as The Tile is currently {{{status}}}. RSSI: {{{lastRSSI}}} .
We are using mustache templates here. They allow you to use the data in the published payload and reformat it to your liking. In our case, we’re using them to “fill in the blanks.” The message once processed would look something like this:
The Tile is currently here. RSSI: -77
As a side note, i’ll be talking more about these templates in my guide. So stay tuned for that!
Test it
Once your integration is in place, invoke Particle.publish and see if you get messages sent to your phone via Pushover.
Here’s what it would look like on an iPhone:
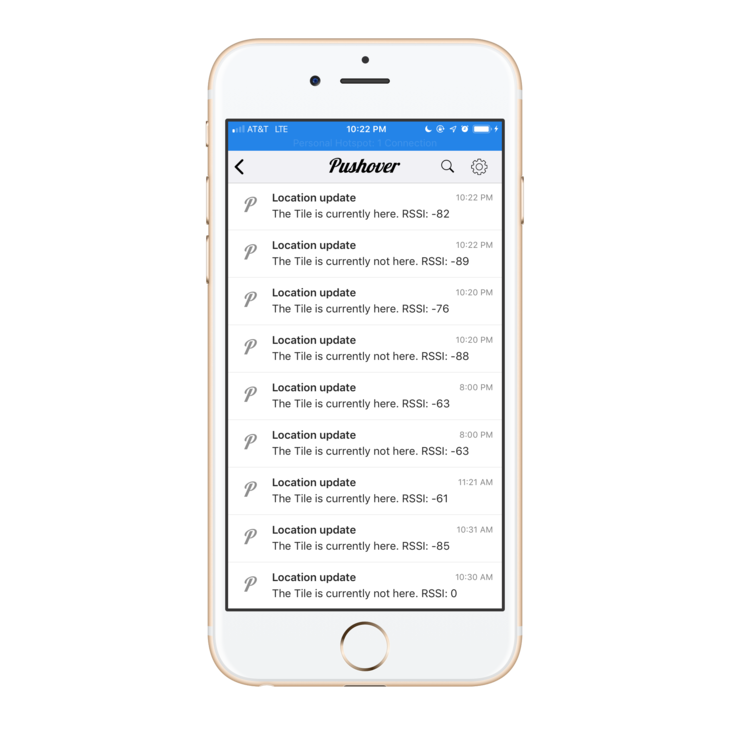
As you can see, I tested it a bunch! 
Conclusion
This API integration is very handy especially if you don’t want to go crazy with creating your own app with push notifications. Consider it another tool in your toolbox when bringing your own creations to life!
You can check out the in-depth tutorial that this was originally based on here. I hope you find it useful!