Ok @Moors7, as I promised already many times and failed to fulfill , apologies.
My network configuration is highly customized and actually using some sort of mesh or dynamic tree where each node can be a leaf or a leaf & router. Only the Core is fixed node as being the root of the tree or internet gateway, if you prefer.
The network though is too complicated code for a tutorial and it was the main blocking point for my previous efforts to publish something on this, probably a reduced star topology would be easier to understand and follow…
@LukeUSMC I will share extracts of my code, but bear in mind I’m doing nothing fancy in the data communication: the Arduino populates a struct and the Core pushes that struct on the Internet… I’m just using the existing nRF24L01 libraries… The tough part starts when you want your network to self configure or self re-configure on the fly, which is managed in some messy code I’m not ready yet to share just because it is tough to follow even for me
I have a few SenseBender Micros from mySensors.org and I am hoping I can pull some of that stuff from it. Anything you’d be willing to share would be great. Thanks!
@LukeUSMC@Moors7 I started the tutorial with a first introductory blog post: please let me know if that’s what you were suggesting and anything else you might want to comment, including the wording as I’m not English mother tongue
The next post will be about eletronics, explaining how to wire the sensors and the hub, then I will need additional 3 posts for the software, one for each platform.
In the meanwhile, can somebody verify if the spectacular nRF24 library made by BDub has any trouble working with the Photon? I’ve received mine only yesterday and didn’t have the time to verify myself.
@rlogiacco that is perfect! Don’t worry about your English, you have better grammar and a larger vocabulary than the average adult native English speakers. If you really want someone to nit pick it, I will but you are doing just fine on your own. Thanks again for sharing your work.
The fact that I kept looking where to find part two might be a good sign? Looks good so far, and I’m interested in seeing where this goes!
As far as your English is concerned, seems pretty good to me, don’t worry about that. Then again, I’m not natively English either
I ran the GettingStartedSpark and get a successful response from printDetails. I don’t have a working receiver yet but seems to be working at a basic level.
Here is a non-blocking scanner with Adafruit oled output. The scanner examples out there block to the point that you can’t flash your device once you start it. I like to use the oled as a mini serial console to give me just the most important pieces of info. Hopefully this will help someone else and if anyone knows how I can add the tag for C syntax formatting in the forum…please share.
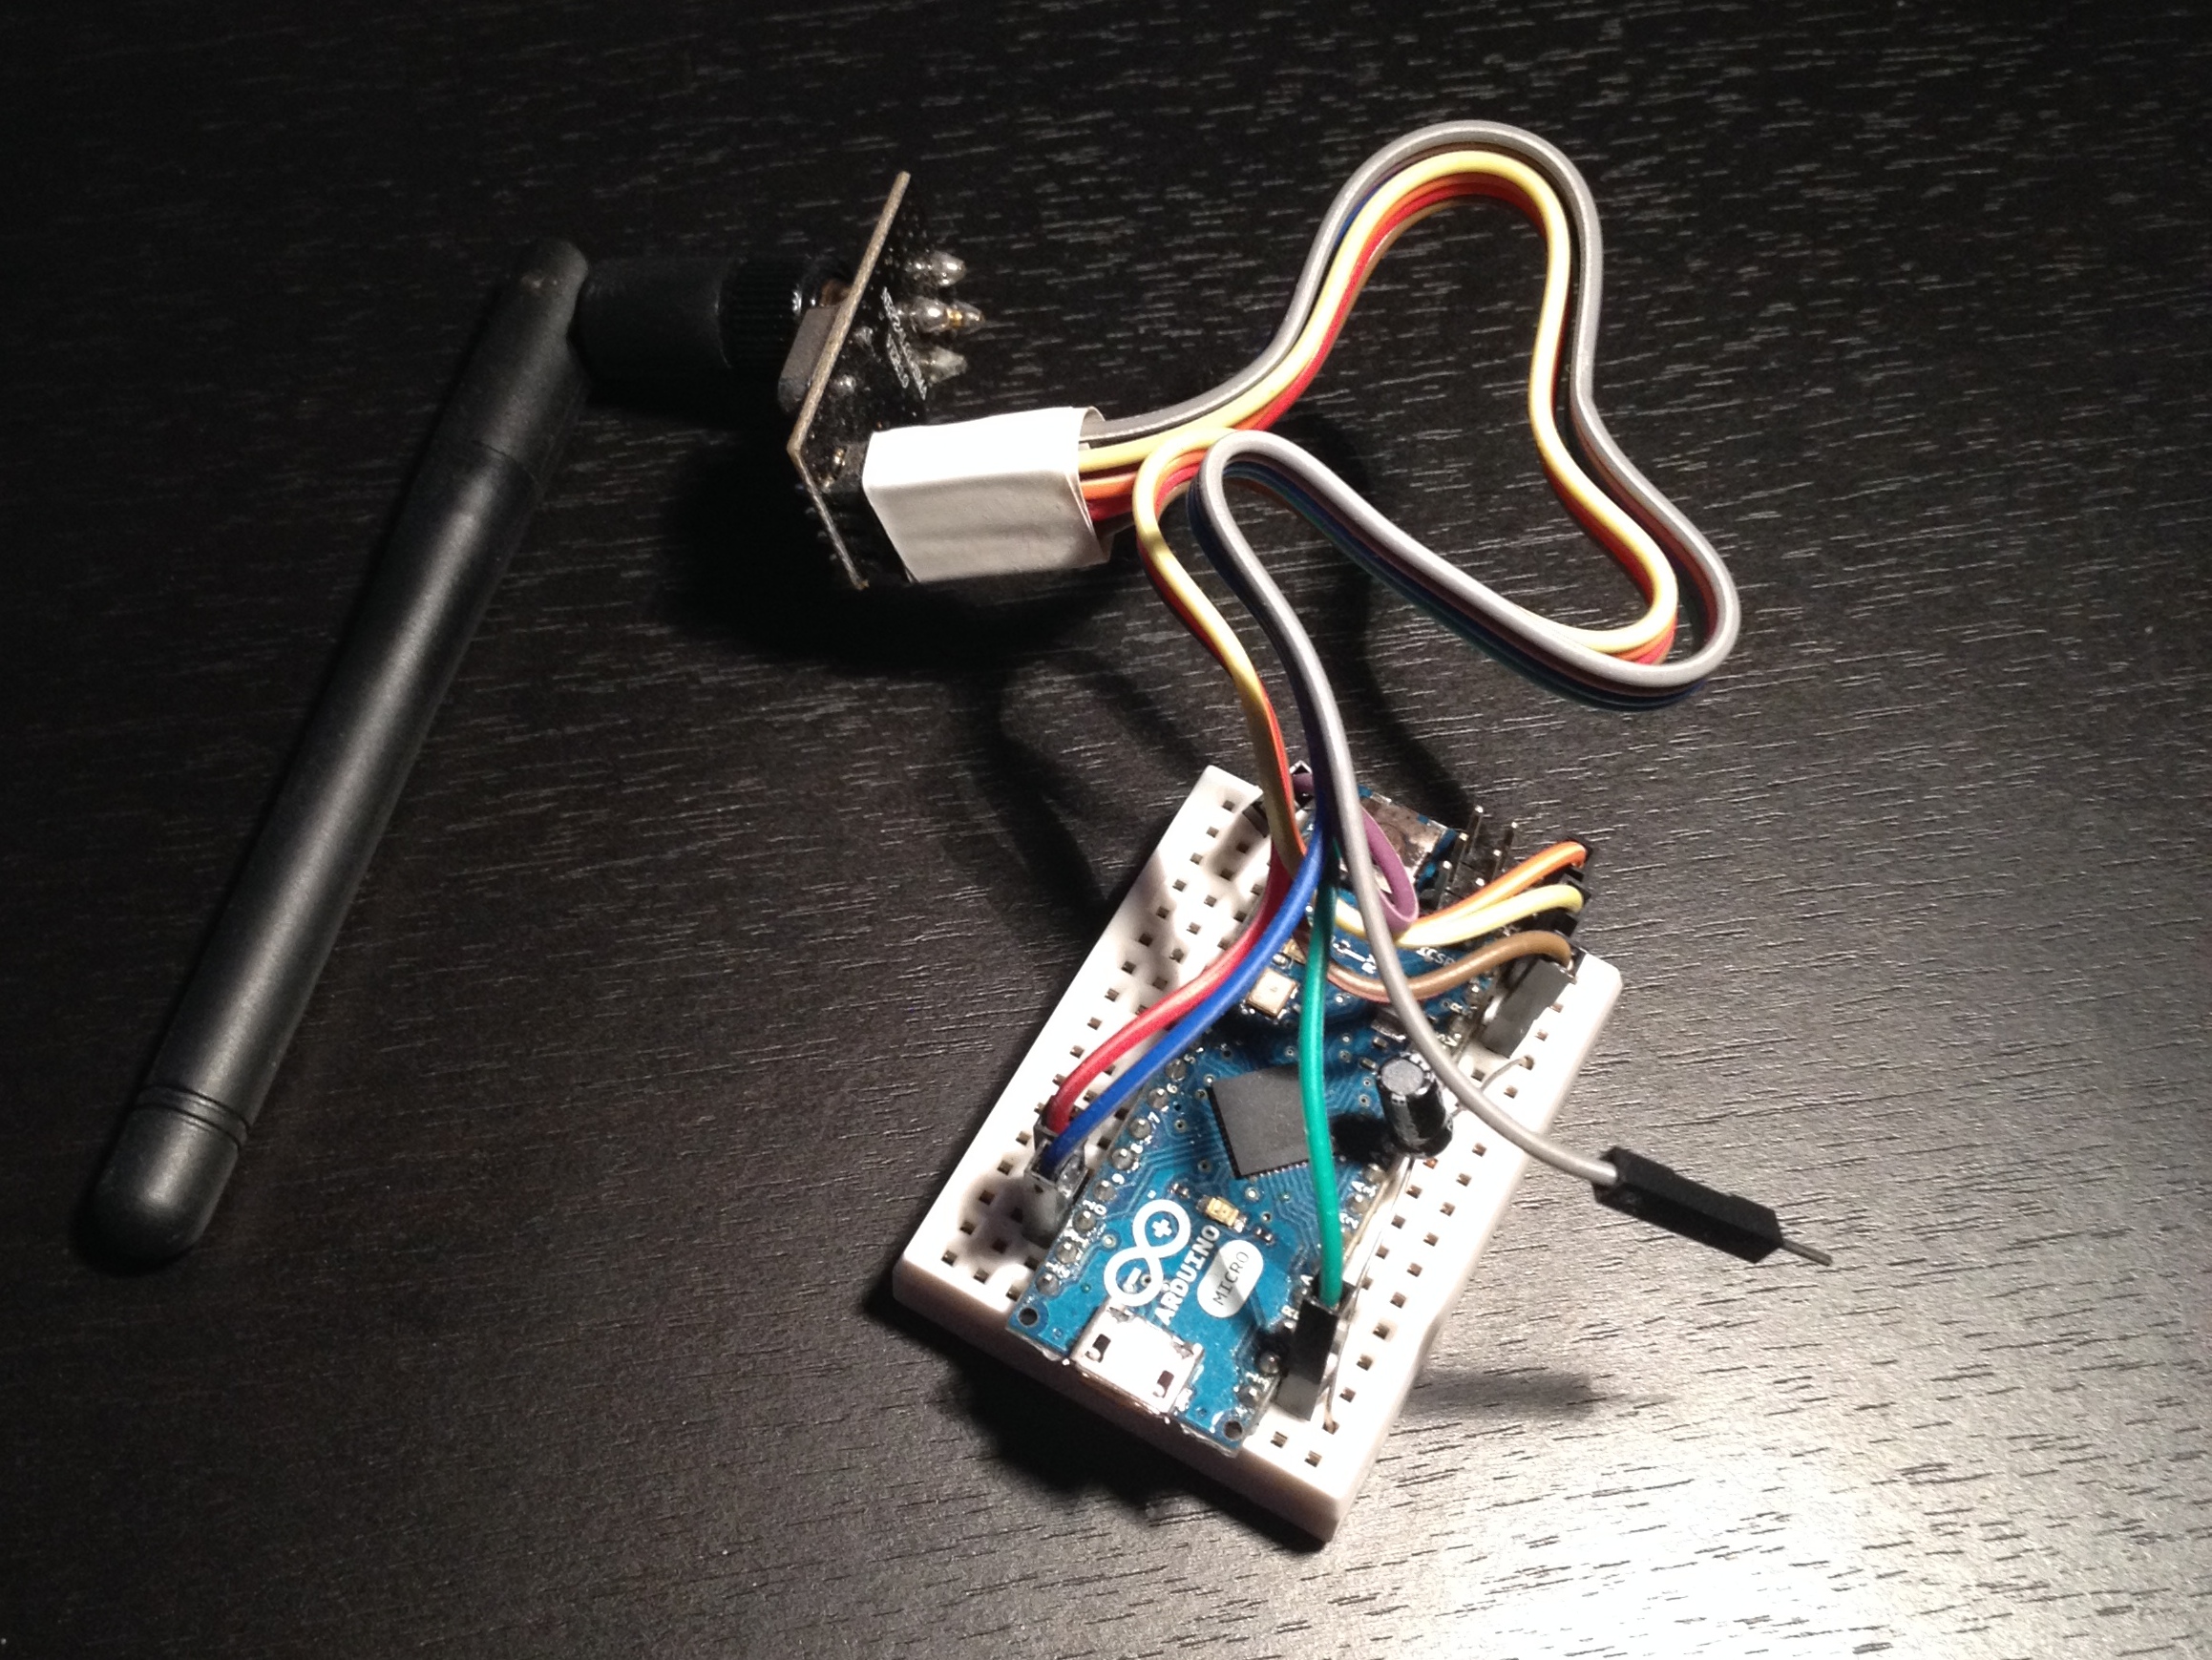
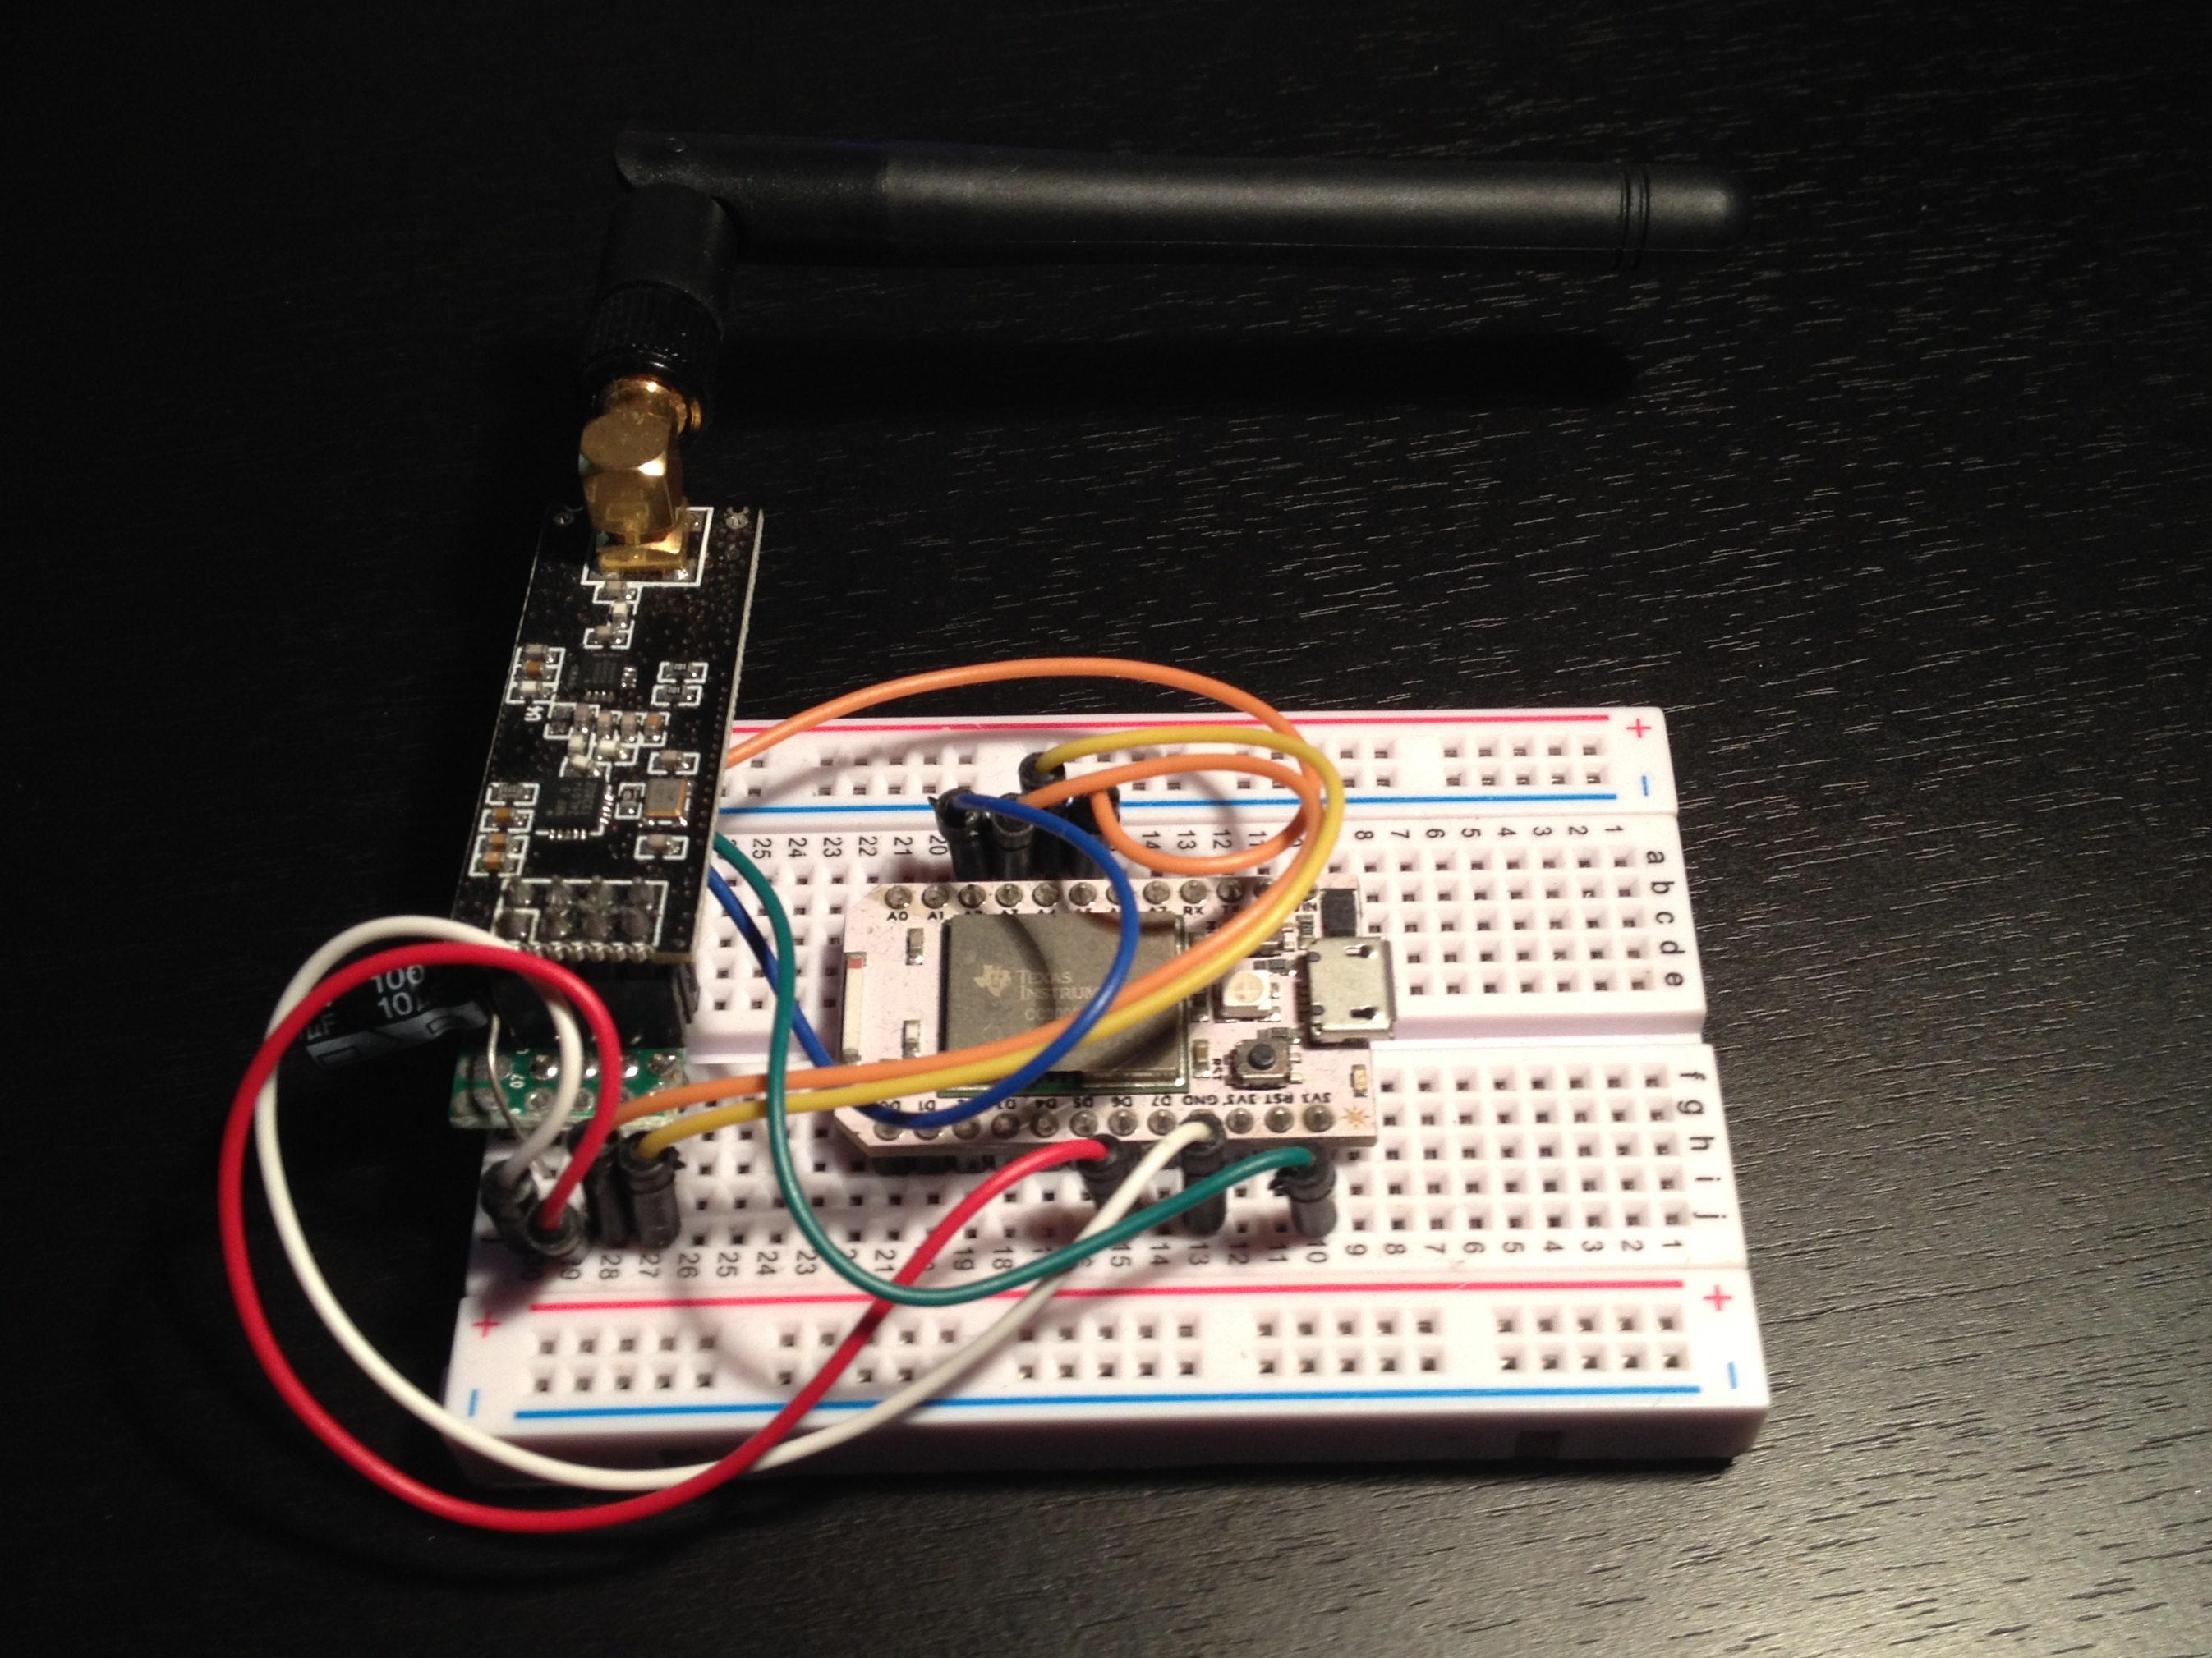
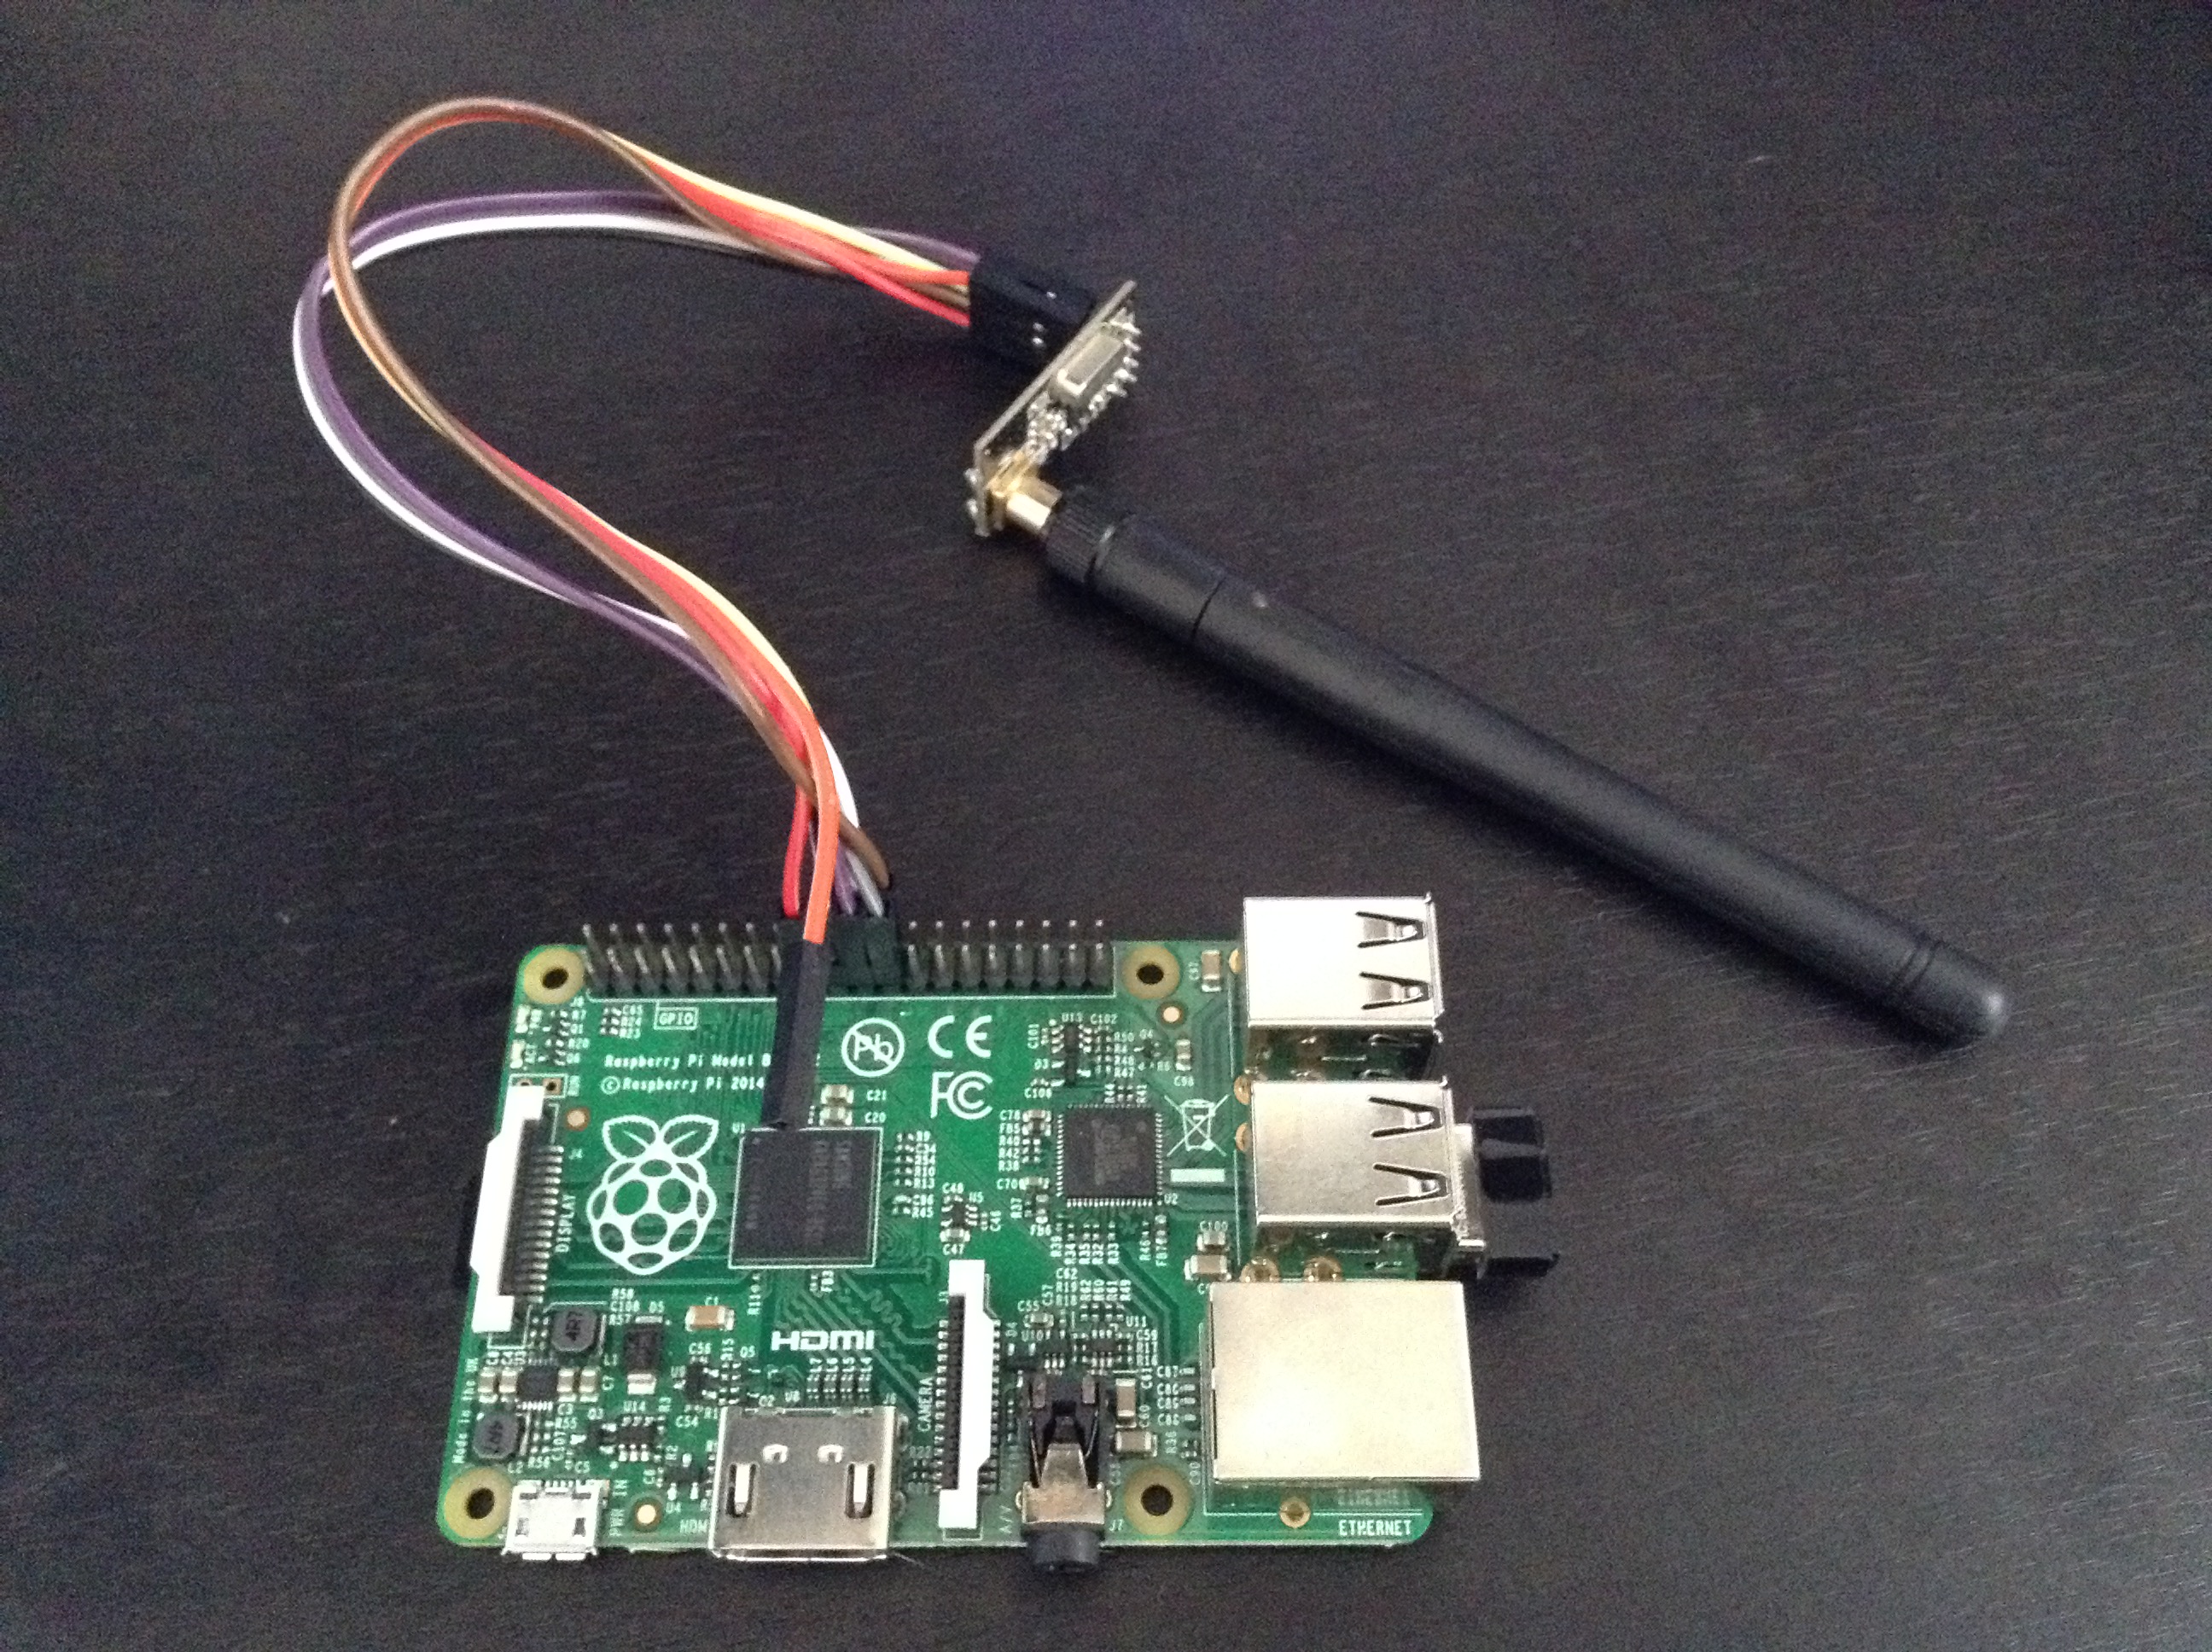
Ok, I now have 3 boards in a very simple configuration: I had a few hiccups with some dodgy connections which drove me mad, but now I’m in a position to verify the code on the field.
@tezza I will be using those on the hub node.They give a greater range, which is important, but doesn’t change the concept.
Why were you suggesting to use those instead? Any particular reason I might be overlooking?
Part two of the nRF24 walk through is out, part 3 very close to completion: I’ll update the first post adding links to the different parts when they’ll come in.
Comments and corrections are welcome and please @LukeUSMC don’t hesitate to suggest rewordings
Lads, I’ve the code ready for the Arduino and it’s quite clean to me. I’ve tried to cover two scenarios in one go, but I want your opinion: is it clear as it is (the two reply methods) or should I introduce it in two separate steps?
 , apologies.
 Core is fixed node as being the root of the tree or internet gateway, if you prefer.